
We are in full swing of our kitchen renovation (see before photos here) & I officially no longer have a functioning kitchen. One of the hardest parts in a large project like this can be taking the first step, but we did it & so far things are moving quickly.
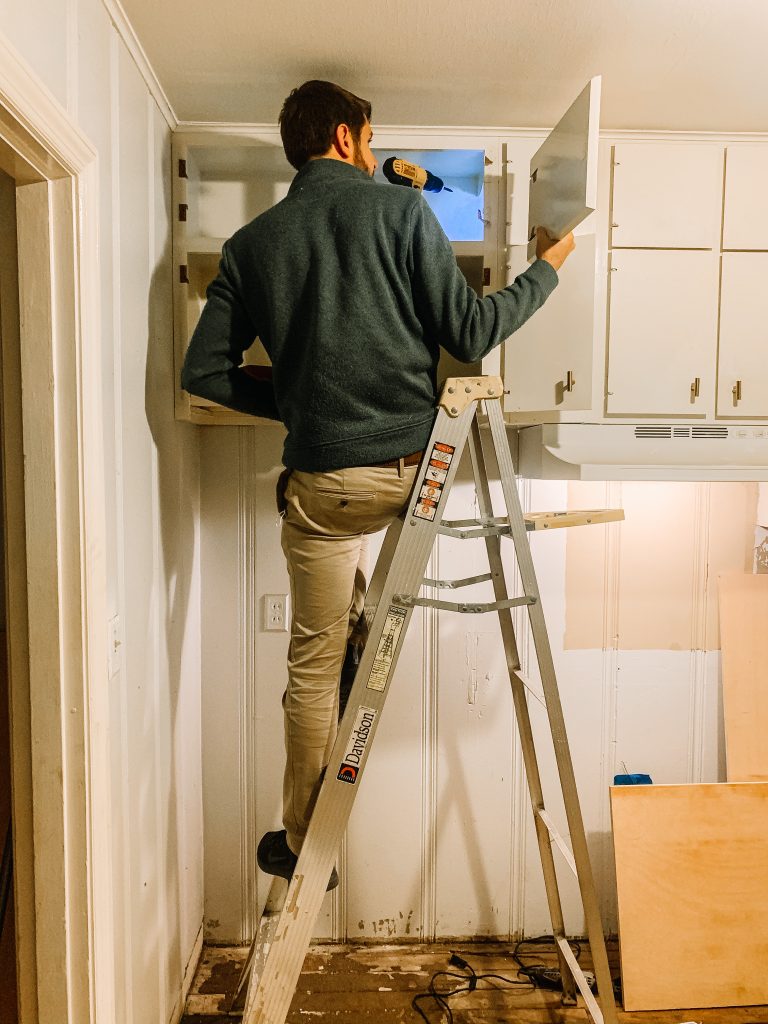
The first step in the plan was to complete the new electrical. In order to even start on the kitchen renovation, we needed to get the washer & dryer out of the kitchen & relocate them in to a hallway utility closet. Also, we needed to run new wiring for a dishwasher & microwave over the oven. Although we would like to do most of the work ourselves, Jordan draws the line at electrical and plumbing. There is a lot that can go wrong, & the electrical can be dangerous, so we knew we wanted to bring in professionals. The house is old & there is no telling how old the electrical wiring in the walls can be.
Over the years, we have seen a few quirks with our wiring. For example, when you walk into the living room there is not a wall outlet connected to the overhead light. It is always on & you have to use the pulls to turn the fan/light on or off. Many of the outlets are not grounded either (2-pronged & not 3-pronged standard outlets). Probably the most annoying quirk is when we try to use the microwave, it constantly trips the circuit breaker. When I use the microwave, I have to make sure Jordan doesn’t have anything else running in the bathroom, office, or living room. So we definitely wanted to find out what the issue was and get it fixed.
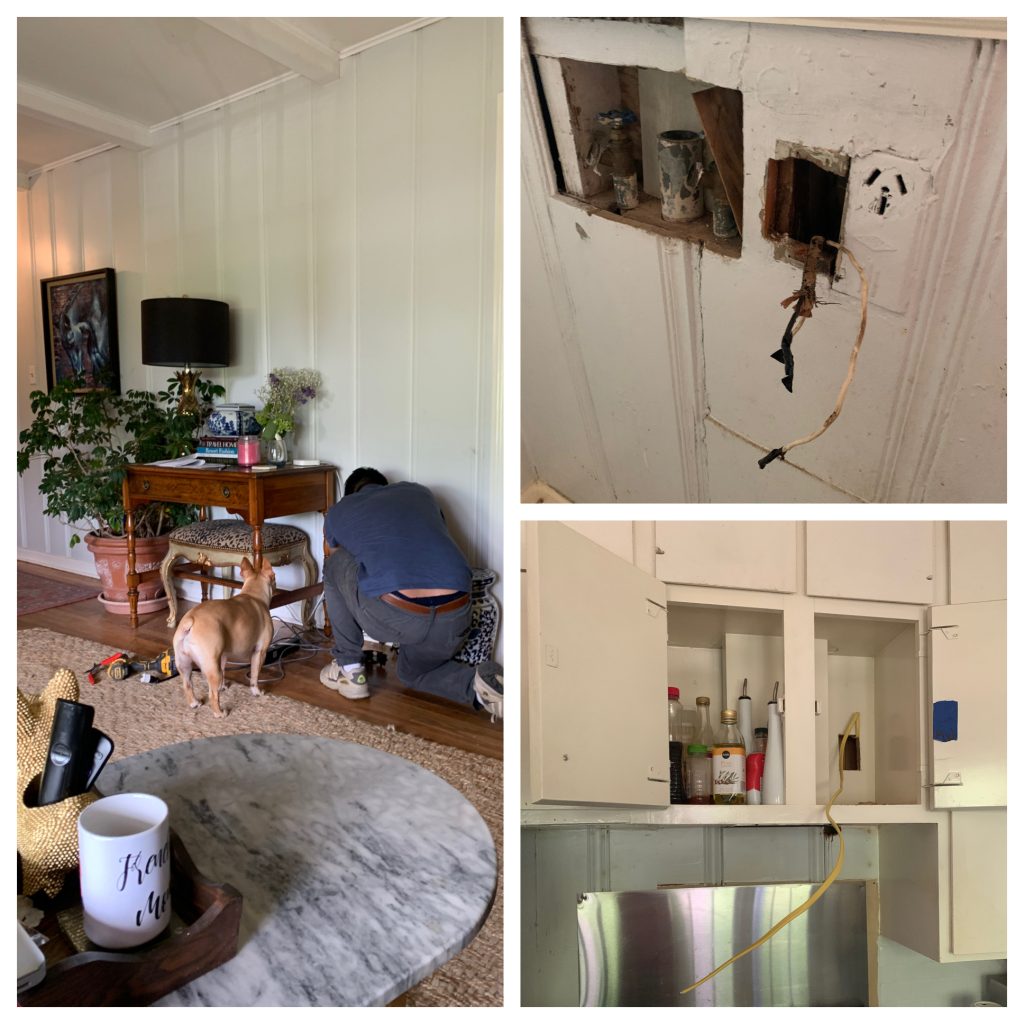
We had an electrician come in & remove the dryer hookup in the kitchen & put one into the closet. The hot water heater is currently in the closet, so we will use that hookup for the washing machine after it is relocated to the garage. Our plan was to use the old washing machine outlet for the dishwasher, but it turned out the old wiring needed to be replaced. The issue with the microwave is that they use so much power that it is important you microwave has it’s own circuit.
If you have a similar issue, then you can have an electrician come out & do the same thing. Although prices will vary, this was a $275 job per “run” as they call it. As in, running new wire directly from the breaker box to a new outlet. In our house this section of wire was old aluminum wiring, which is much more prone to tripping your breaker. We were more than happy to update this with modern copper wiring.
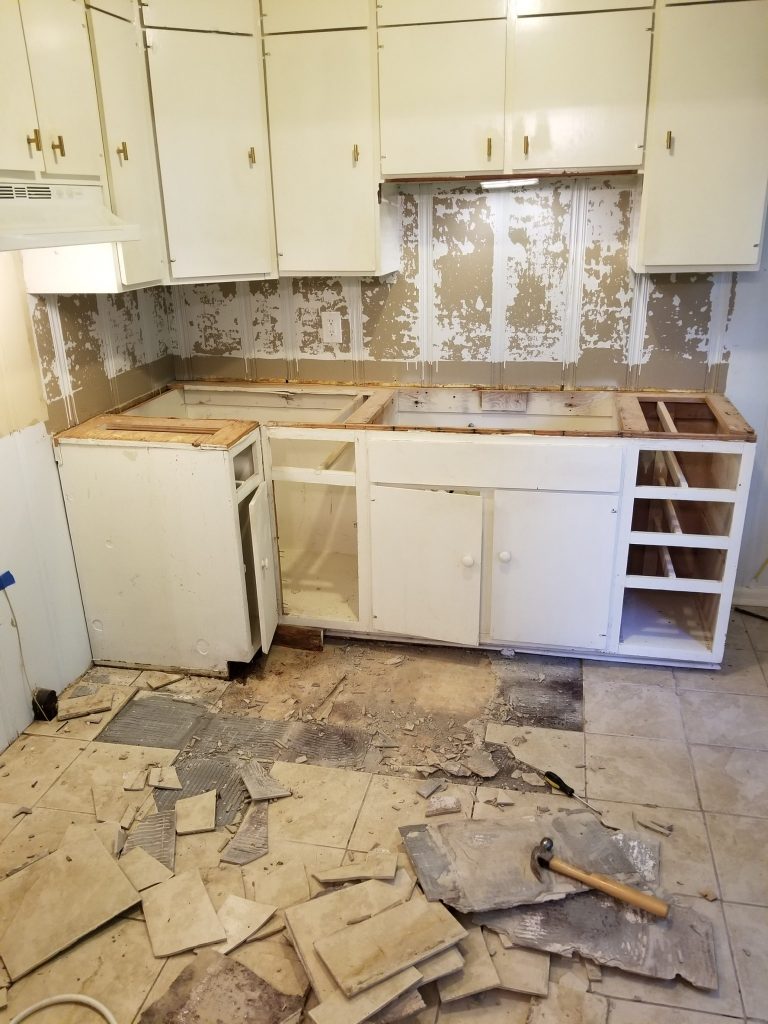
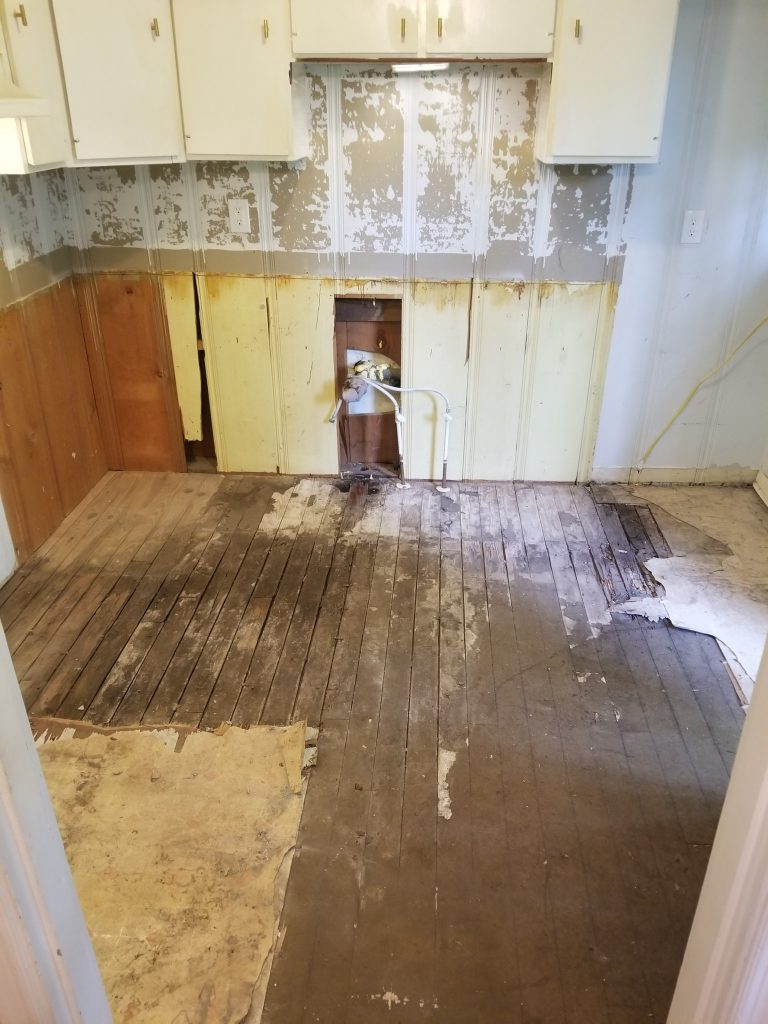
Next came the demo. I was out of town hosting a baby shower for my friend Jackie (see details on my IG). Jordan & I discussed the demo plans before I left. I think it was better that I wasn’t there in person for the demo, because it was pretty emotional seeing it torn apart. We have so many sweet memories in that kitchen, especially with our cat Hemingway who passed away in a hit & run accident earlier this year.

Our kitchen was far from perfect & I complained about what it lacked A LOT, but it also has been the heart of our home. I love to cook so I would spend a few hours in there a day. Not gonna lie, I’m pretty impressed with the meals I’ve been able to make in what was essentially a kitchenette. I’m excited to finally give our kitchen the upgrade that it deserves.
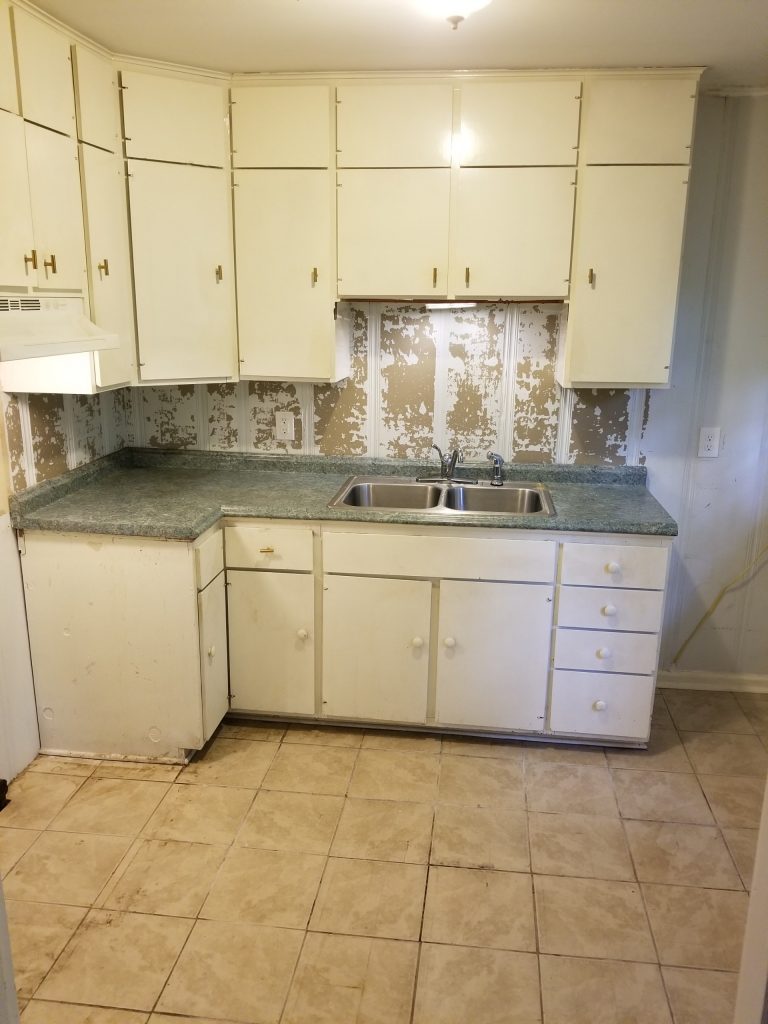
The demo went pretty well. The faux wood flooring that we put down came up easily. We were really happy with how well it held up for the past few years & Jordan was shocked at how easy it was to remove. There was no residue left behind. On the other hand, we found out pretty quickly that the peel-&-stick backsplash did not hold up very well in the kitchen. When Jordan removed it from the wall it decided to take the paint with it! If you are renting a home, then I would not recommend using a peel-&-stick backsplash unless you plan to repair the area before you move out (or lose the deposit you put down).
The hardest part turned out to be removing the old base cabinets. In order to lay the new kitchen floor tile the “correct” way, we needed to take EVERYTHING out of the kitchen besides the upper cabinets. At this point in the reno, we were hoping to keep most of the cabinets (upper & bottom) and just replace & reface as necessary. Because of how the cabinets were crafted (custom to the space circa 1930), they’re all connected & made salvaging anything on the bottom really difficult. As I’m writing this, we are not sure what we will end up doing cabinet- wise, but we will definitely be replacing the bottom cabinets & some or possibly all of the uppers. Luckily we have some time to decide on the cabinets because of how long the floor has been taking to prep for tile.
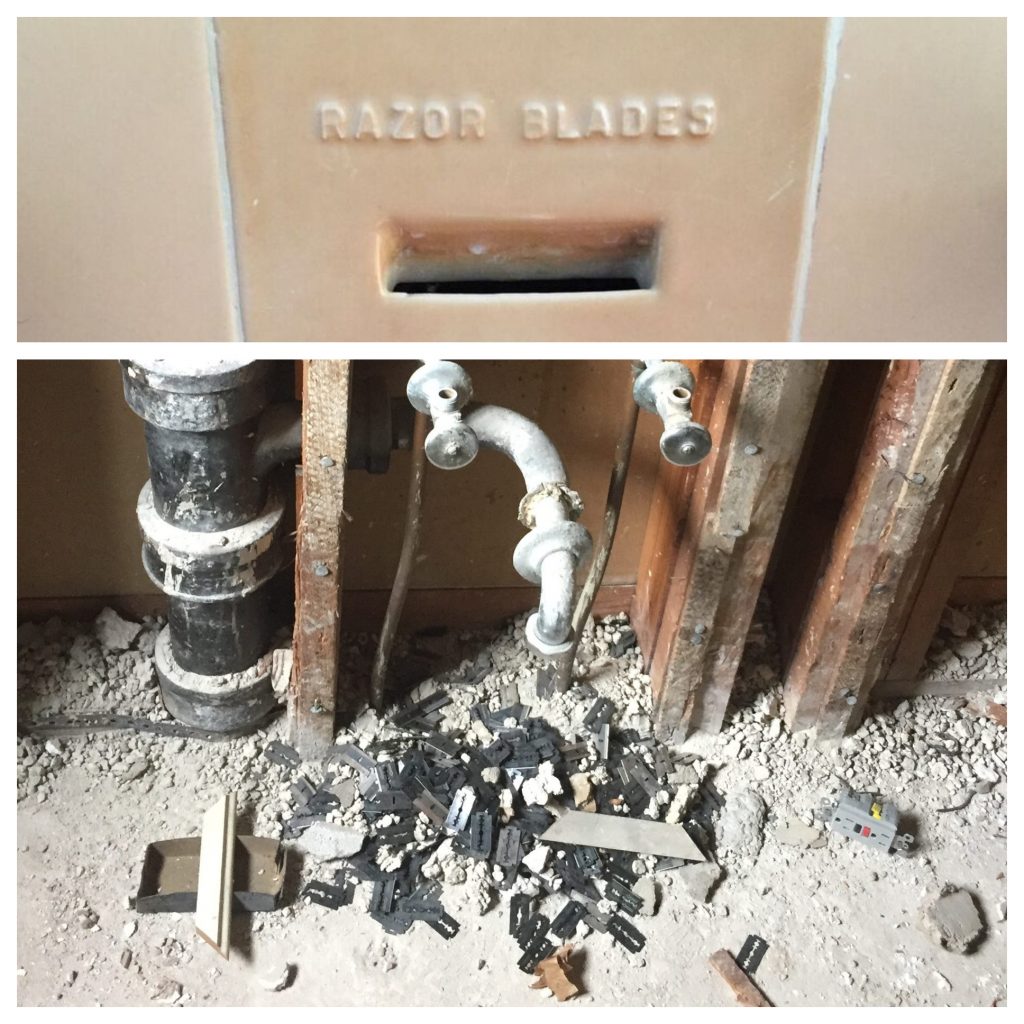
 During the demo, Jordan discovered the strangest things in the wall! While he was demo-ing the closet for the washer & dryer, he found horse hair insulation… which I didn’t even know what a thing. But in the kitchen was the WEIRDEST discovery… razor blades. Copious amounts of them.
His uncle that was helping with the demo informed him that back in day, men used to have a shoot in the bathroom wall to dispose of dull razor blades. This slit was usually tucked away in the medicine cabinet. Our kitchen sink shares a wall with the bathroom sink, making plumbing pretty straight forward, but also came with a lot of razor blades. Jordan threw away most of the blades before he took a picture, but here is one that he took & some others that I found on Google. Old homes are so fun- you never know what secrets the walls hold!
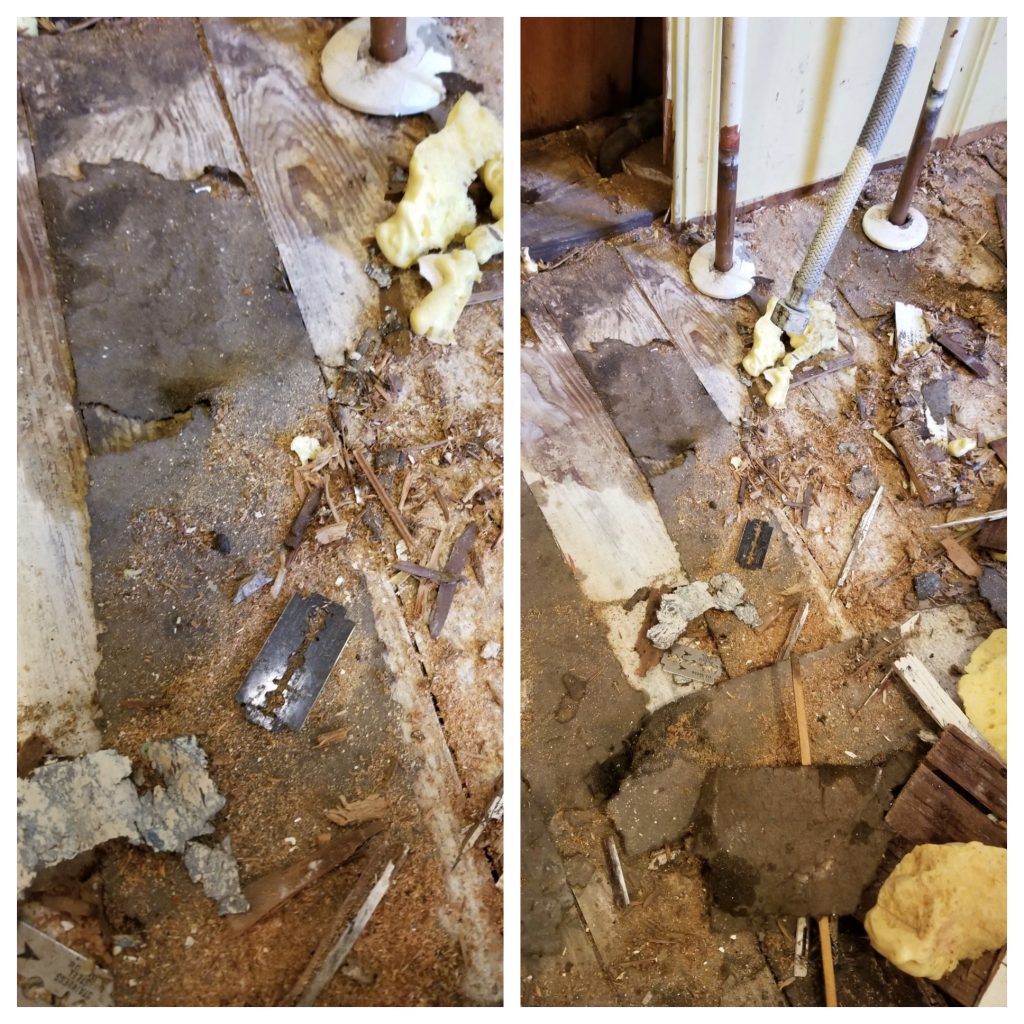
The tile floor that Jordan’s uncle had put down came up very easy and Jordan found the original laminate underneath. It was in bad shape so he decided to take that off as well.
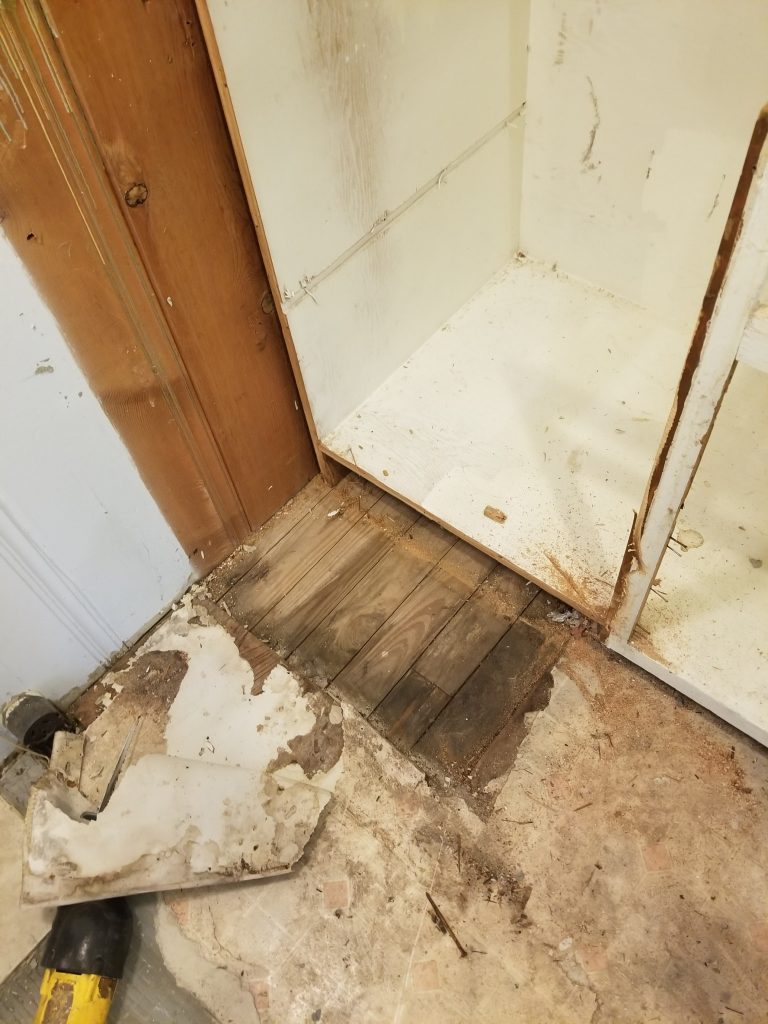
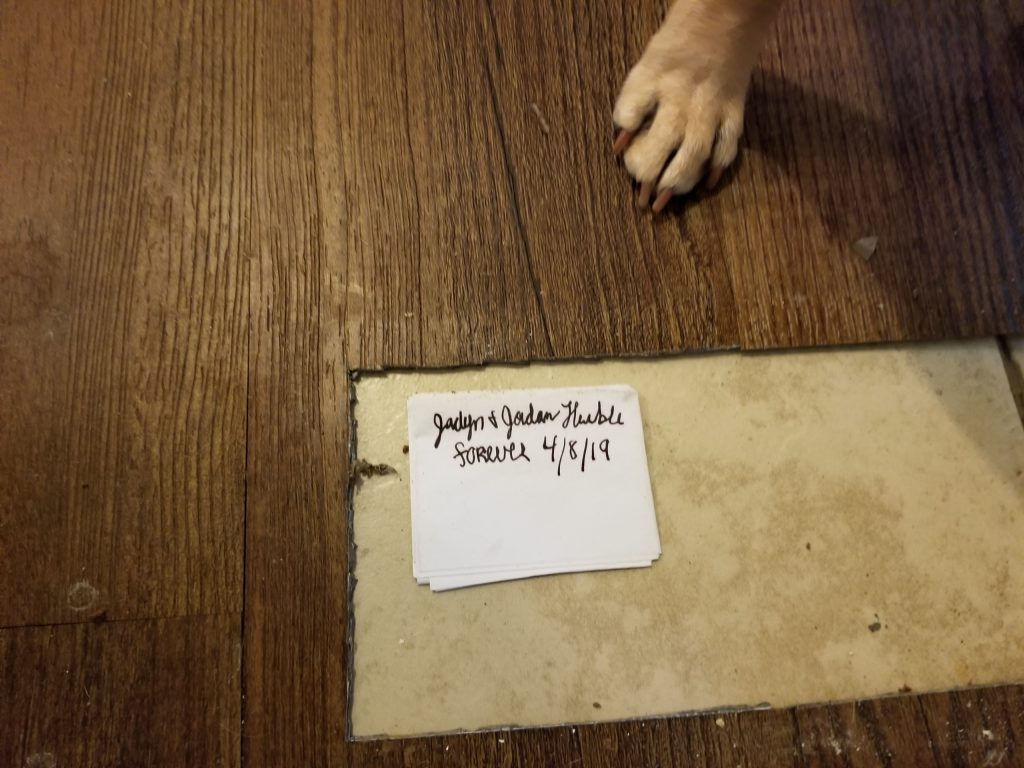
The blades weren’t the only surprise during demo… My heart skipped a beat when Jordan sent me a picture of hardwood floors sticking out from the demolition mess! We were excited to find pine flooring underneath the tile & linoleum, but it wasn’t in good enough condition to refinish. Jordan says that it was put in as subflooring and never actually used as hardwood flooring. This was done in old houses until the 1950s when plywood became popular for subflooring. Unfortunately, we didn’t have a “Fixer Upper” carpet over beautiful hardwood type of situation.
After demo was complete, we started laying 1/4″ plywood over the pine subflooring that is original to the house. This is called the sublayering. The reason Jordan selected 1/4″ instead of something more sturdy is that the subflooring itself was sturdy & he did not want to raise the level of the floor too much. It will already be fairly high after putting the tile down.
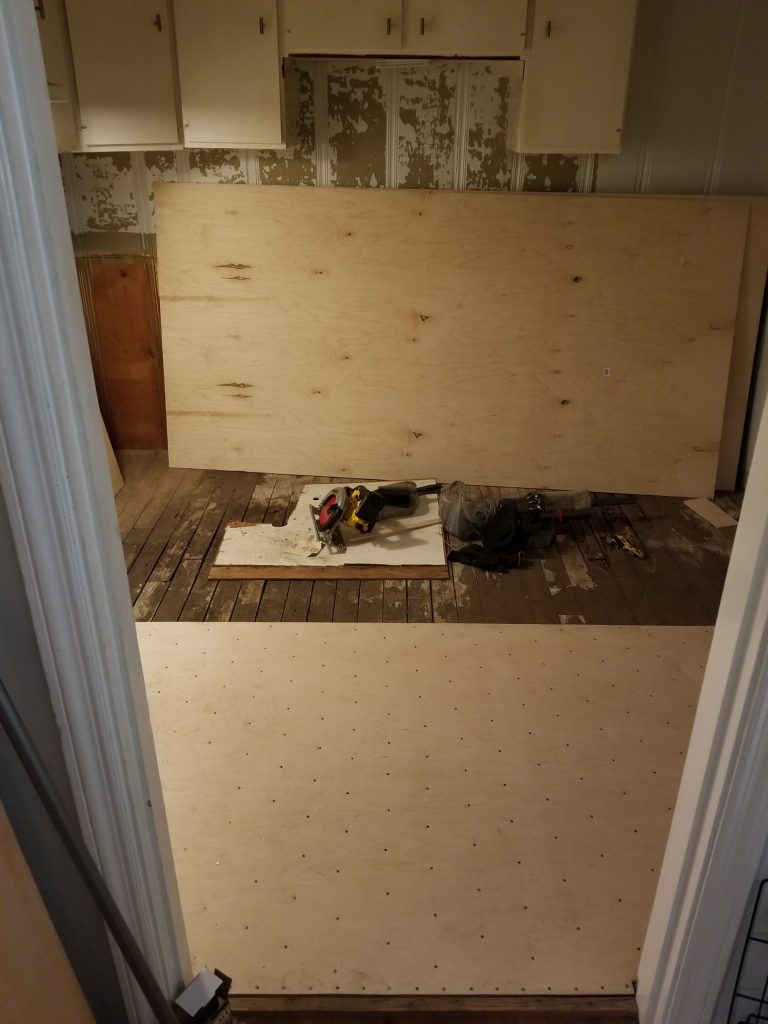
The plywood creates a nice flat & reinforced surface for us to lay the hardyboard on. We nailed the subfloor down with underlayment nails in order to prevent “squeaks” & to create a strong surface for the tile which will prevent cracks in the future. Jordan layed the plywood opposite the grain of the pine subfloor & made sure all the plywood grain was going the same way. This creates a strong foundation. I’m glad to get this construction part of demo out of the way, because it’s been limiting our time frame to work on the kitchen. We haven’t been nailing past 9 PM to avoid disturbing our neighbors… laying tile can go all through the night.
So what are the next steps? After the plywood layer is complete, we will lay hardyboard cement 4×6 sheets over top for an even foundation for the tile. Jordan has been very insistent on getting the underlayment right so that the tile won’t crack after some wear & tear. In a perfect world, we would’ve been able to match the hardwood throughout the rest of the house, but we decided tile would be the right option for our kitchen.
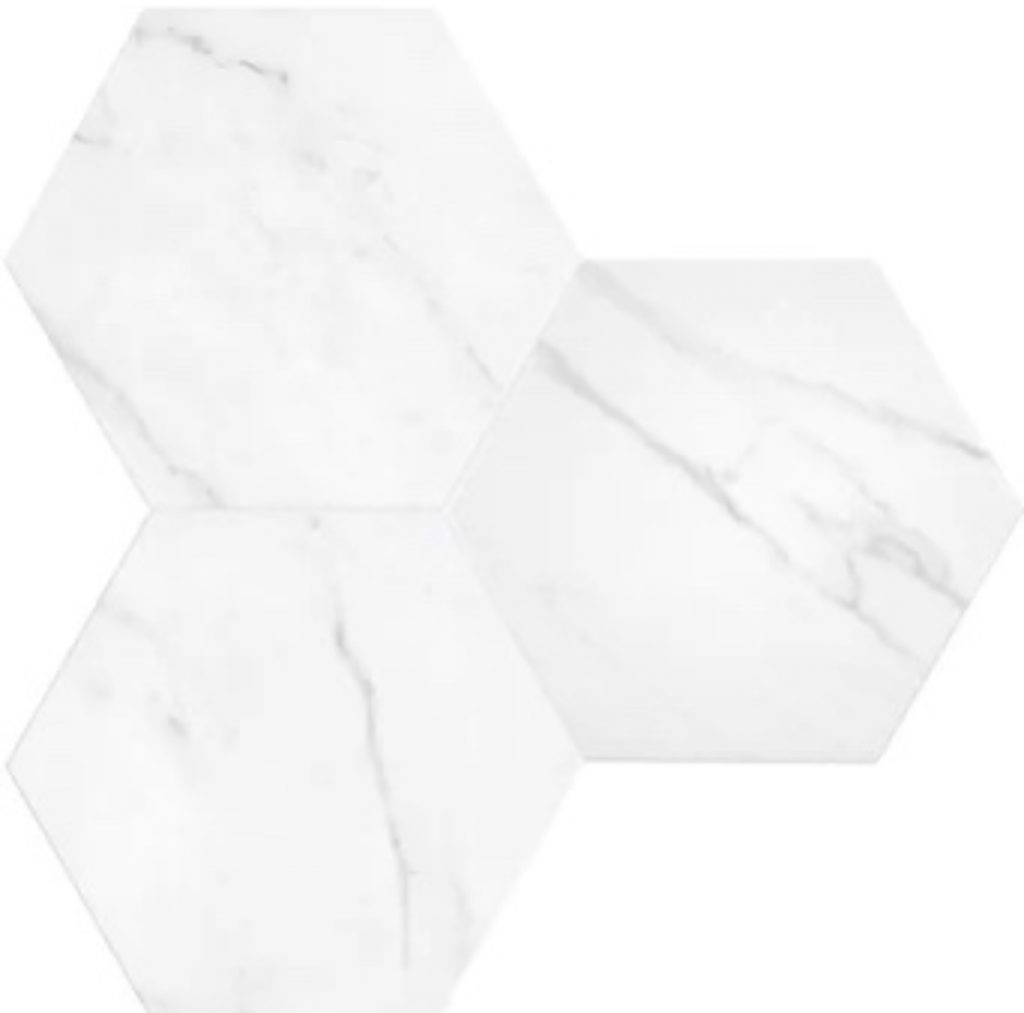
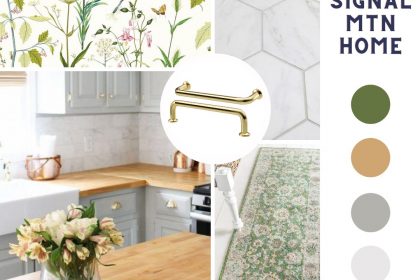
One of the two big challenges we will face in the next week is laying the floor tile. I originally wanted natural stone floor tile, but after some research, porcelain tile seemed like the best way to go. Natural stone like marble is too porous for a high traffic area & the price point didn’t make sense for this house. I found this gorgeous faux marble hexagon porcelain tile for a great price at Lowe’s. We will use a light grey grout to create a slight contrast. I also wanted to go with grey because white grout would show more dirt.
The second challenge is figuring out the cabinet situation. This is the first significant deviation we have had from our original plan, which was to save the old cabinets to some extent. Now that we need completely new base cabinets, we are going to look at several different options of where to go from here. If you have any cabinet suggestions based on your own projects, then please let us know. Stay turned for more!

Ciao for now!
PS: be sure to check out more One Room Challenge Guest Designers’ projects on the ORC blog.